Here we will be exploring how to schedule a phishing campaign on the phishing tool
Firstly, to manage phishing campaign are located under Manage > Phishing > Campaigns.
-
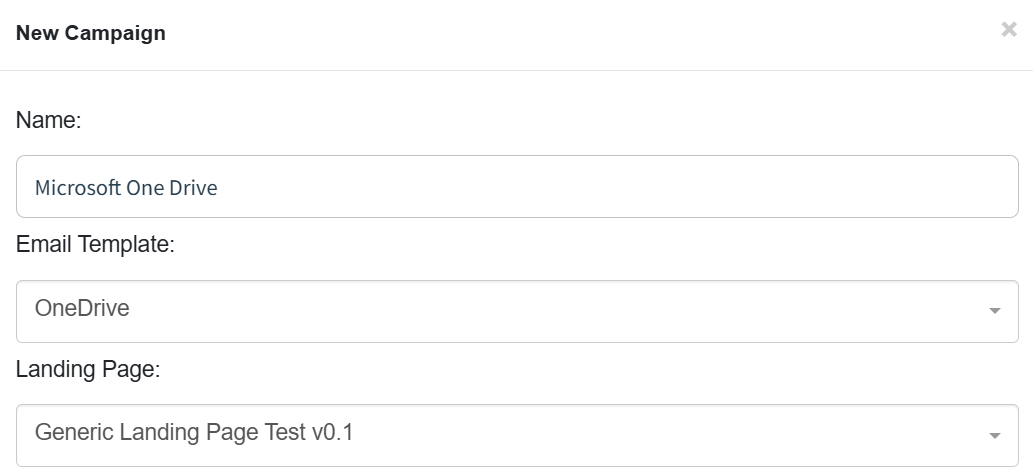
To create a new campaign select '+ New Campaign' button

-
When creating campaign select email template and Landing page - Example below
-
For the URL it will show a list of URL to choose from. Please note make sure it's the same URL used on the email template subject

-
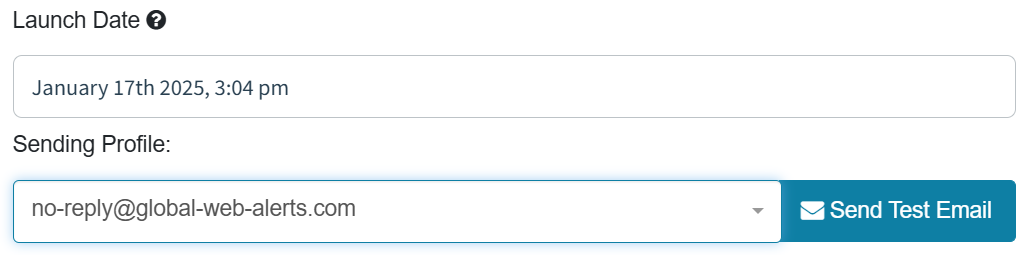
Launch date choose a date and time for the phishing campaign to be released. For the sending profile there will be a list of email address to chose from. Please note make sure it is the same as the URL
-
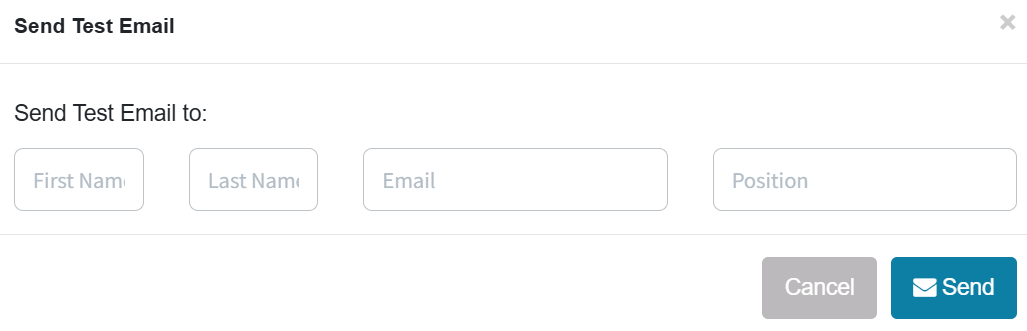
Before you schedule a campaign make sure you send a test email to yourself. Please, ensure this email lands within your primary inbox. If you do not receive the email please check within your spam folder.
If the email lands within spam please double check your Allow List Set-up
Link to allow listing guidance below:
-
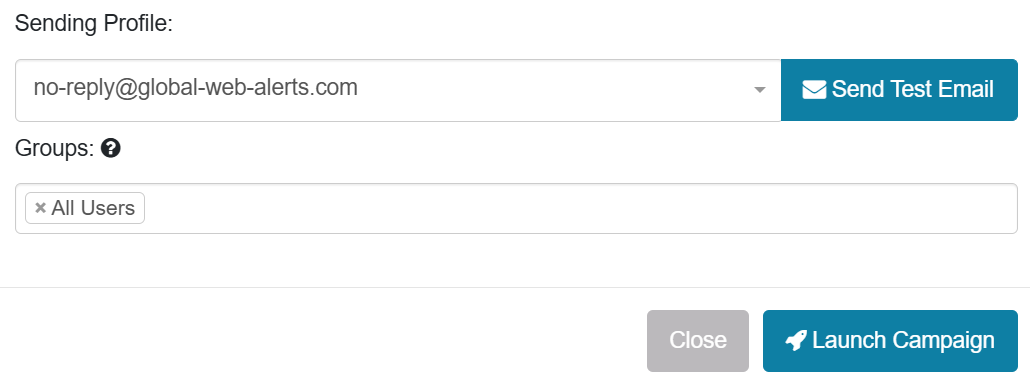
Once tested the campaign and no issues. Select group to send the campaign to and select launch campaign
-
After the campaign is launched it will under 'Active Campaign' where you will be able to check it's going to correct user and launch date.
-
Once the campaigns has finished and no longer in use. Select the campaign to archive any old campaigns