To upload all of your staff via a CSV file you can make use of the Import feature on the portal. This guide will show you how.
You will need to be a Manager or Owner on the learning portal to have the ability to import users.
It is also worth noting that there is a cap of 150 users per CSV file that you upload, so you will have to create multiple CSV's if you have more than 150 users that you need to upload. However please let your account manager know if you need any assistance doing this if you are trying to upload a very large amount of users.
Basic Import (Name and Email Address)
To get started, please visit "Manage" >> "Users and Groups" and select "Import Users".
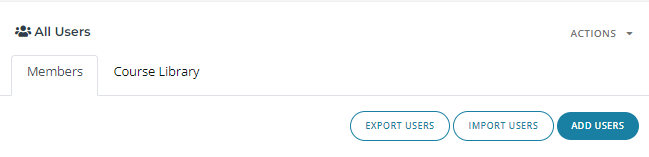

After doing this you will see the above screen which lets you know how many users you have access to add and if you would like to send an invitation to the users that you import straight away.
If you choose not to send invites you can send them at any time within the "Users and Groups" page by selecting "Send XX Invitations" this is the best way if you have SSO enabled or want to silently add your staff.
Here you will also notice that you can "download example file".
You will need to populate this and re-save it under a different name than the sample file.
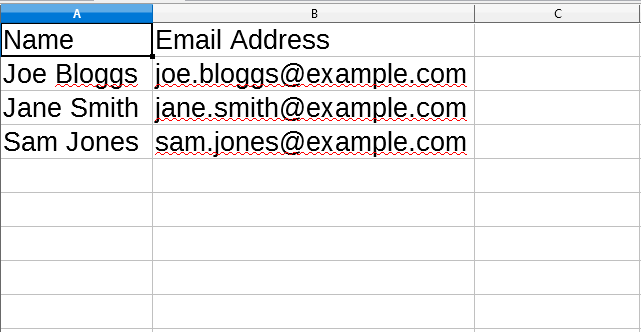
The column headers must be "Name" and "Email Address" so make sure not to change these and just add the names and email addresses below the column headers.
When you have populated this make sure to give it a different name and save as a CSV with UTF-8 encoding (if it gives you the option).
.webp)
Then choose the file that you have created by selecting "Browse" and when you have done this and are happy with the options you have selected choose "Import".
If it has worked correctly you will be redirected to the "Users and Groups" page and will see the users you have imported.
If there are any problems you will stay on this page, but it will inform you what is wrong.
Here are some of the most common problems-
-
The name of the CSV file is the same as the example file.
-
Incorrect column headers
-
Duplicated Email Addresses
-
More than 150 users in the upload file
-
File saved in the incorrect format (needs to be CSV with UTF-8 Encoding)
If you believe that all of these are correct and still encounter issues our recommended browser is Google Chrome so please try it on that browser if at all possible.
If this is still not working, please email support@bobsbusiness.co.uk with a copy of the CSV you are trying to upload and the error message you receive.
Advanced Import (Name, Email Address, and User Information Fields)
If you would like to add users to specific groups in bulk or attach extra information to their accounts here is how you do this.
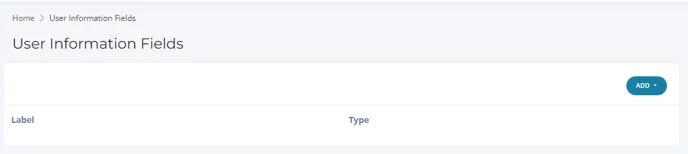
To get started, visit "Organisation" >> "User Information Fields" and add a new information field e.g. Department.
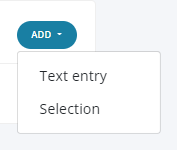
There are two options to choose from-
Text Entry - The more manual option of assigning extra data to user's accounts (such as Employee Numbers) is usually used for reporting purposes only.
Selection - The more automated way where you can set possible options to choose from and the best way to keep your data up to date. Most commonly used for assigning users to the correct department.
In this guide, you will need to choose the "Selection" option.
Then you can give your user information field a name such as "Department" and enter the possibilities below.
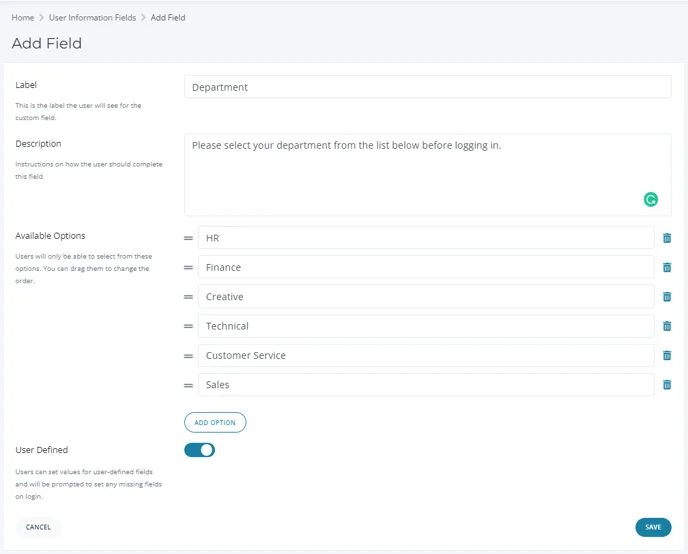
By enabling the user-defined option if they don't have a field associated with their account the user will be asked to choose from the available options you have listed.
In the next step, we will show you how to assign this user information to current staff.
The user-defined feature is most commonly used for new starters who you haven't set a record for and will keep your data up to date.
After selecting "Save" your user information field is now live and we can add an extra column to the batch import file with the name you have set for the Label (as shown in the above screenshot the label would be "Department".
.webp)
Now if you visit "Manage" >> "Users and Groups" and select "Import Users" you can upload your new CSV including the extra information field you have created as seen below.
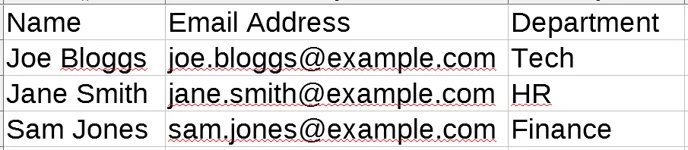
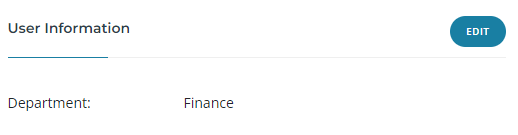
If you then go ahead and import the CSV you have created you will notice after selecting a user account there will be a user information field added to their account for the department you have set.
The final step is to now link these information fields to the groups.
To do this again, visit "Manage" >> "Users and Groups" and add a "New Smart Group".

Please ensure that you select a "Smart Group" because regular groups won't work. If you have already created groups you will need to re-make them.
After selecting " New Smart Group" you will need to create different groups for all of the available options you set in the user information field.
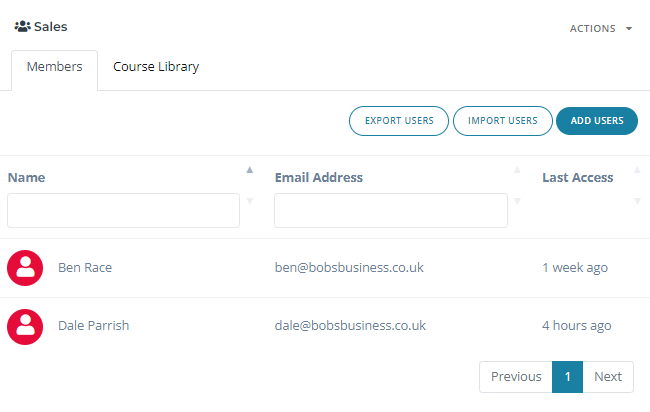
As an example, I have created a smart group for Sales and created a rule which will automatically add any user that has the "Department" information field set as "Sales" to be put into this group.
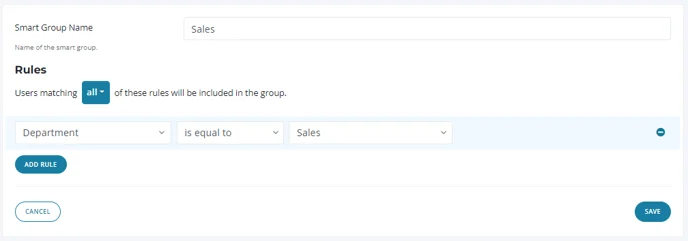
When you are happy select "Save" and the system will process the rule and add the user into the group for you along with anyone who chooses "Sales" as their department in the future.
In the above example, I used departments but you can set them for any criteria you need such as Location, Manager name, etc.
We highly recommend using this feature as it ensures everything is automated.