This guide will walk through passing over custom user information fields in CyberLearn from Azure Active Directory using SCIM
-
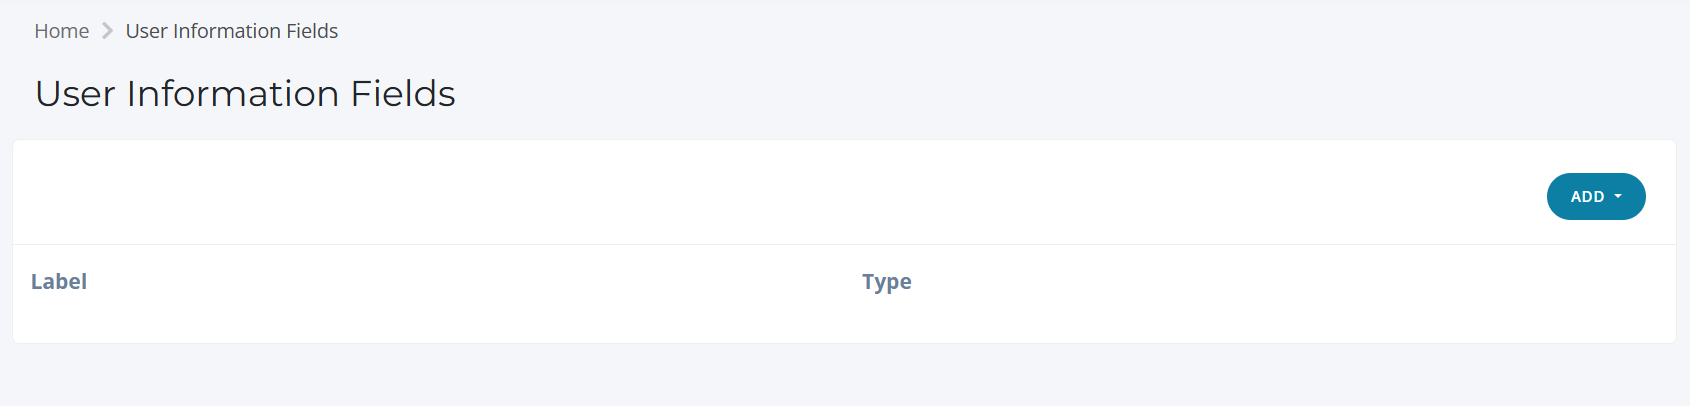
Head to the 'Organisation' menu and select 'User Information Fields'
-
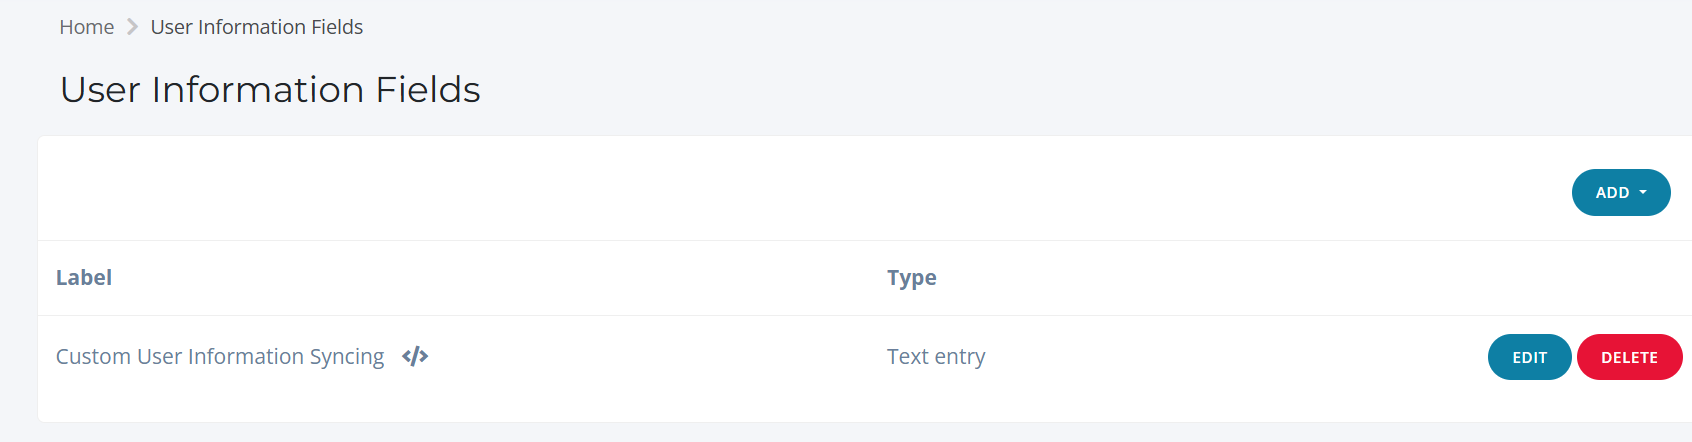
Create a new 'Text Entry' field, give it a Label, Description and ensure it is NOT 'User Defined'

-
Hover over the 'code' tag to find the attribute's SCIM name
-
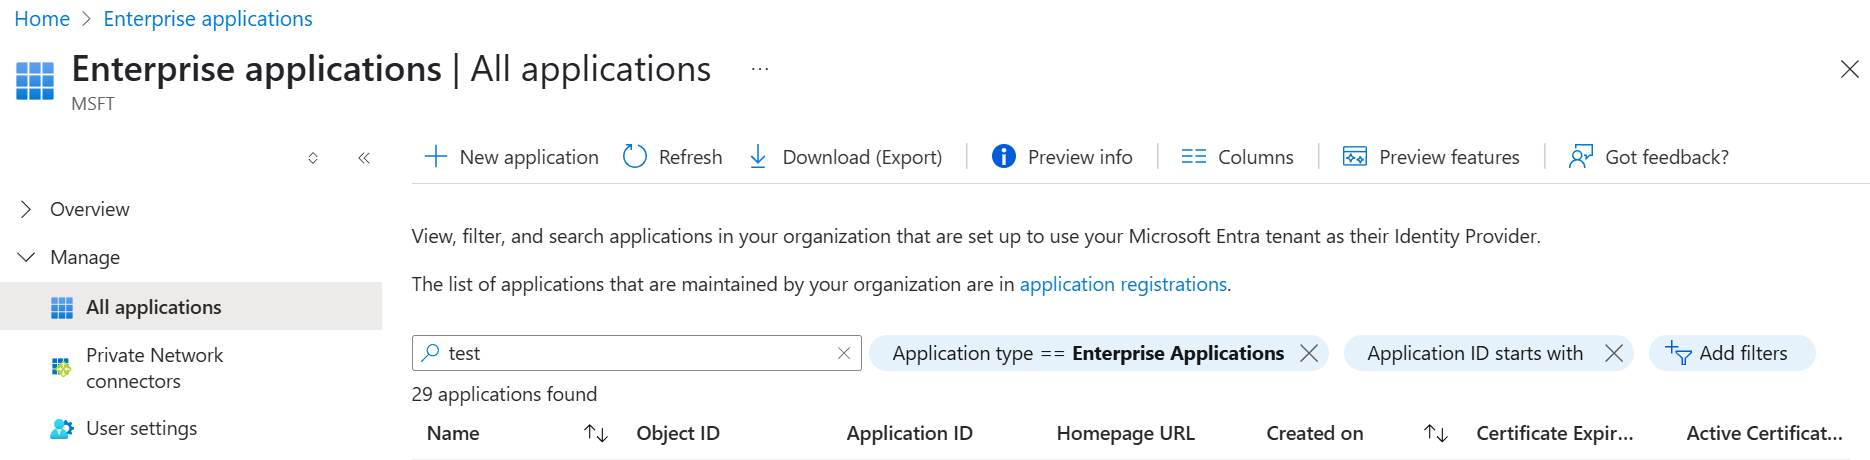
Head back to Azure/Entra ID and over to your existing 'Enterprise Application' for CyberLearn.
-
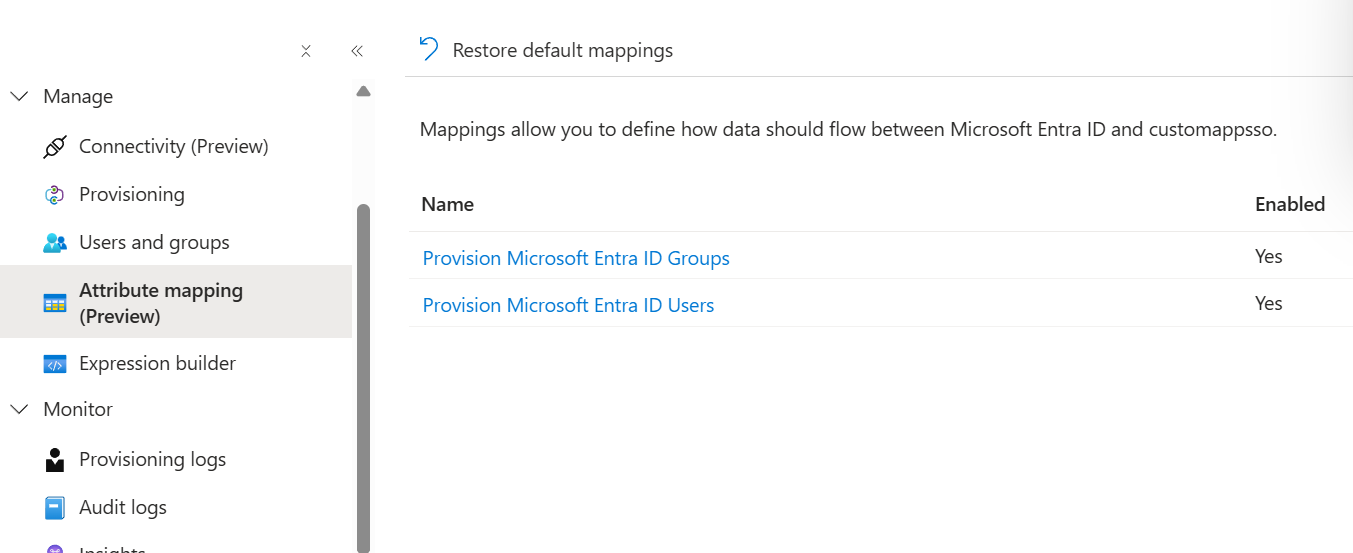
Go to the 'Provisioning' menu and on the left hand menu select 'Attribute Mapping'
-
Select 'Provision Microsoft Entra ID Users'
-
Select 'Show advanced options'

-
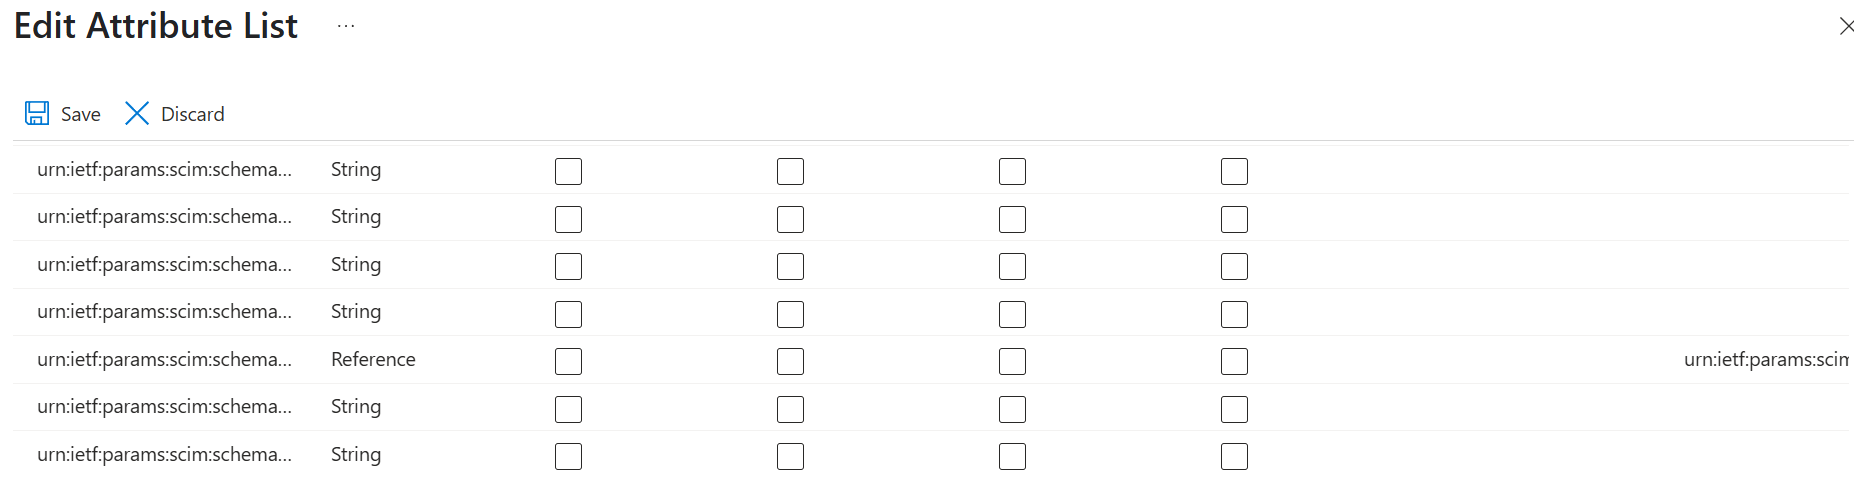
Select 'Edit attribute list'
-
At the bottom of the page, add a new attribute in the following format:
-
Name - Replace 'department' with your user information field:
urn:ietf:params:scim:schemas:extension:cyberlearn:2.0:User:department
-
Type - String
-
-
Then hit 'Save' in the top left bar on the screen
-
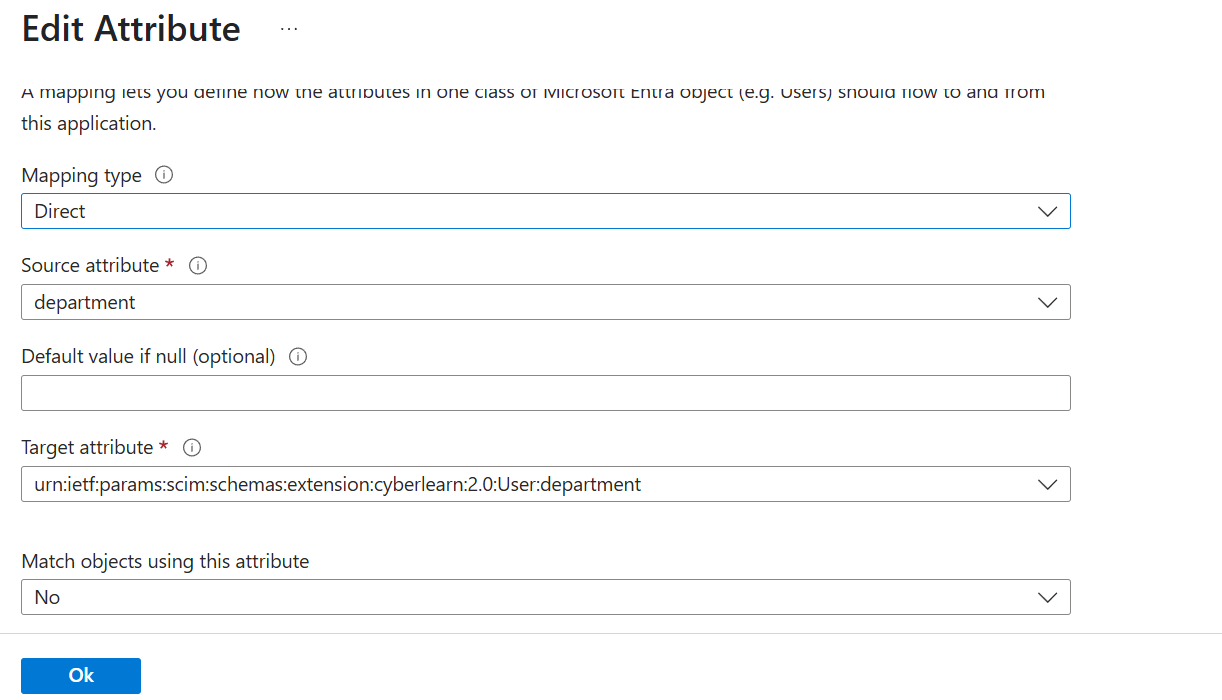
Once you have saved your custom attribute, head back to the mapping page and select 'Add new attribute'
-
Select a 'Source attribute' from your active directory
-
Select your new attribute for the 'Target attribute'
- Note - it may take a few minutes to show up in the interface
-
Save all of your changes and use 'Provision on demand' with a single user to test it works as expected

-
Once you have tested it, 'Restart provisioning' to force a full resync
