To improve the experience for end users the platform allows you to connect your active directory to allow Single Sign on. This guide will show you how to set this up on all of the main active directory providers (Microsoft Azure, Google Workspace and OKTA).
Only owners of the learning platform have the ability to configure single sign-on, so please ensure you have the relevant access.
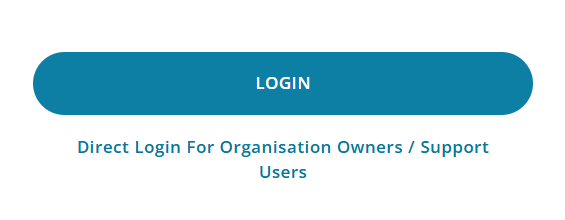
When you have successfully configured SSO the login screen will look like the below screenshot and by users selecting "Login" this will automatically SSO them into the platform. If there are any users that aren't on your active directory they can use the "Direct Login" feature below the login button.
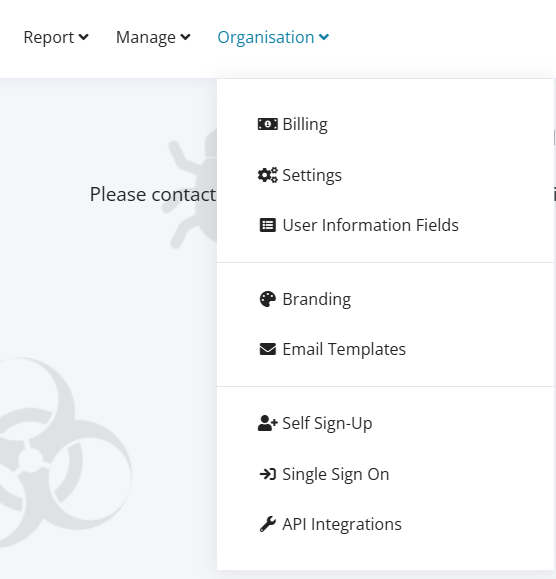
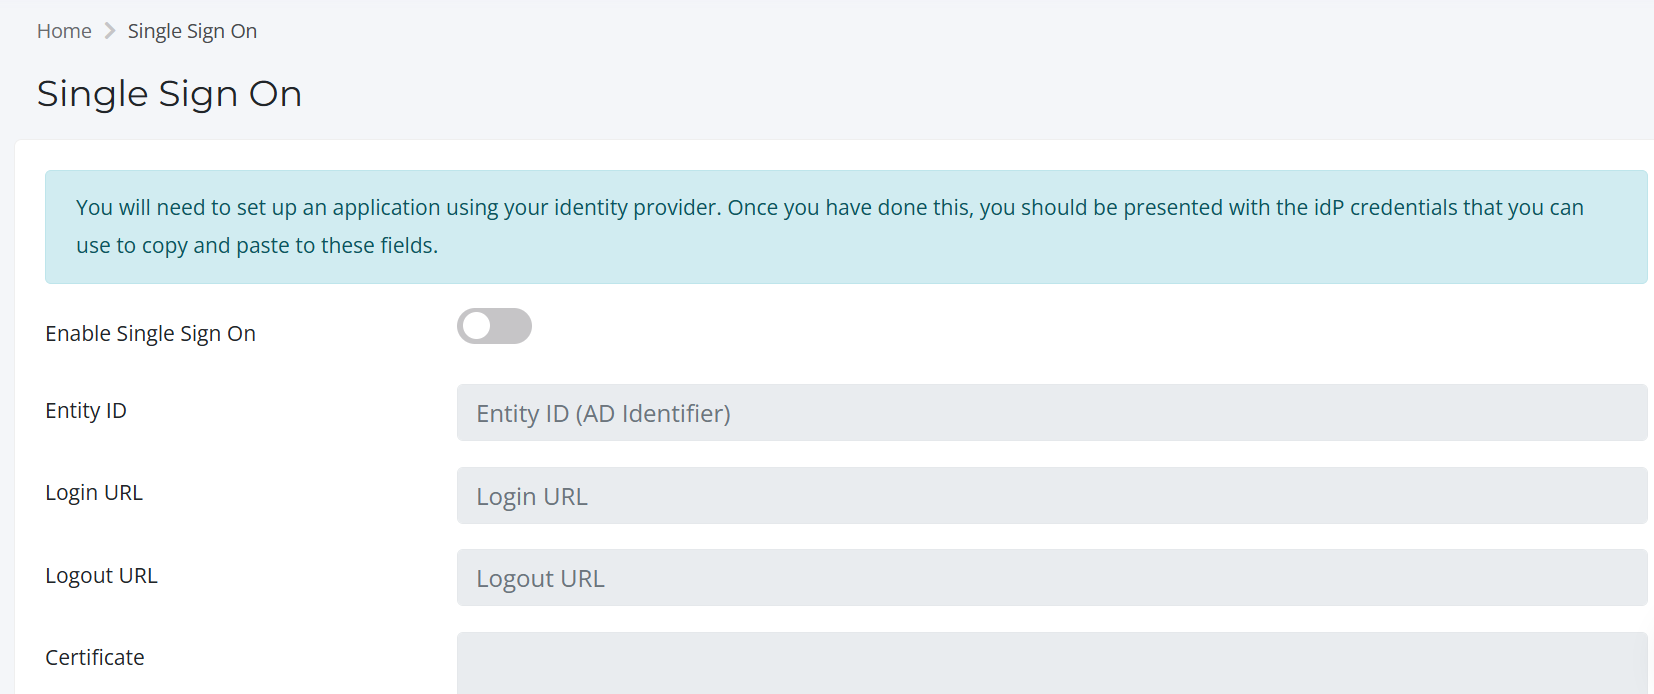
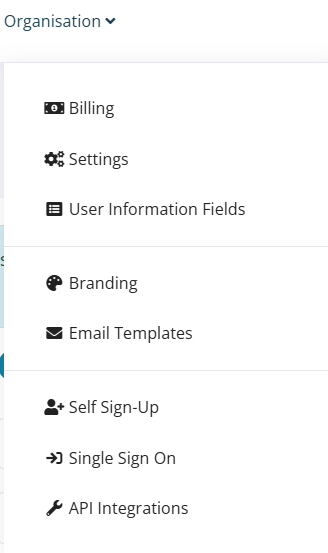
To get started and see your unique configuration settings please select "Organisation" >> "Single-Sign-On" this will then present you with the links you need to input on your active directory along with the details you need to populate to link the two systems.
Microsoft Azure
Create an application for Bob's Business:
-
In Azure Active Directory, click “View” under “Manage Azure Active Directory”.
-
In the left-hand menu, click “Enterprise applications”.
-
Select “New application”.

-
Click “Create your own application”.
-
Enter the name of your application (e.g. Bob's Business), and then click “Create”. Once the
application is created, you will be taken to the “Enterprise Application Overview” page.
Enable SSO for the application:
-
On the Overview page of the application that was created, click “Single Sign On” in the left
hand menu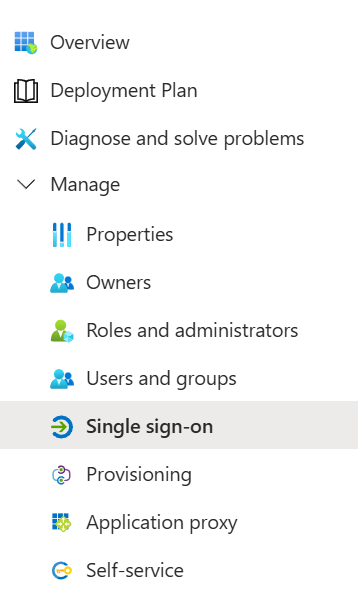
-
Click “SAML”.
-
This will take you to the “Set up Single Sign-On with SAML” page.
-
In the “Basic SAML Configuration'' panel, click “Edit”.
-
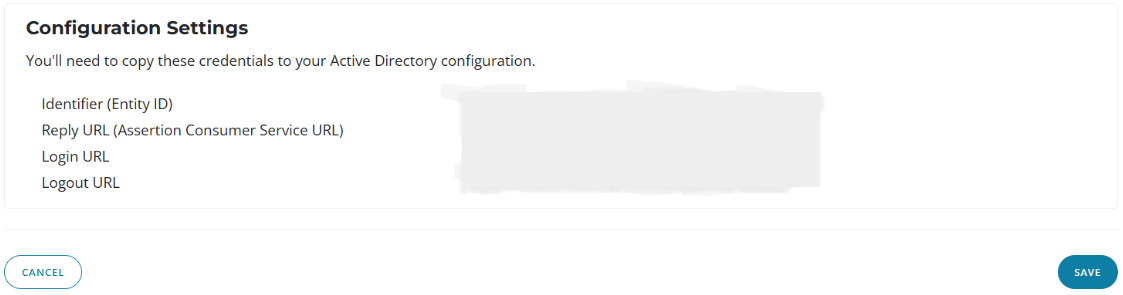
You will need to complete and save the following URL fields (found on the “Organisation >
Single Sign On” page in the Bob's Business portal) :
○ Entity ID = https://yourorganisation.cyberlearn.app/sso/metadata
○ Reply URL = https://yourorganisation.cyberlearn.app/sso/acs
○ Sign On URL = https://yourorganisation.cyberlearn.app/sso/login
○ Logout URL = https://yourorganisation.cyberlearn.app/sso/logout
Note- Do not use the exact links above they are examples, make sure to find your links (found on the “Organisation > Single Sign On” page in the Bob's Business portal).
Next, you need to tell Bob's Business about your Active Directory service.
-
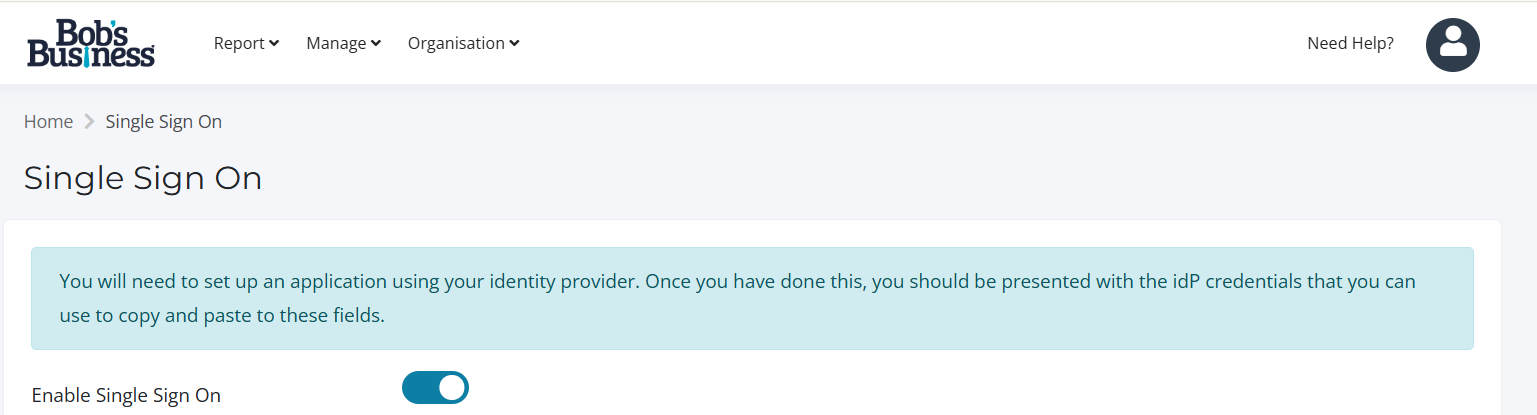
In the Bob's Business portal select “Organisation > Single Sign On”.
-
Toggle on “Enable Single Sign On”.
-
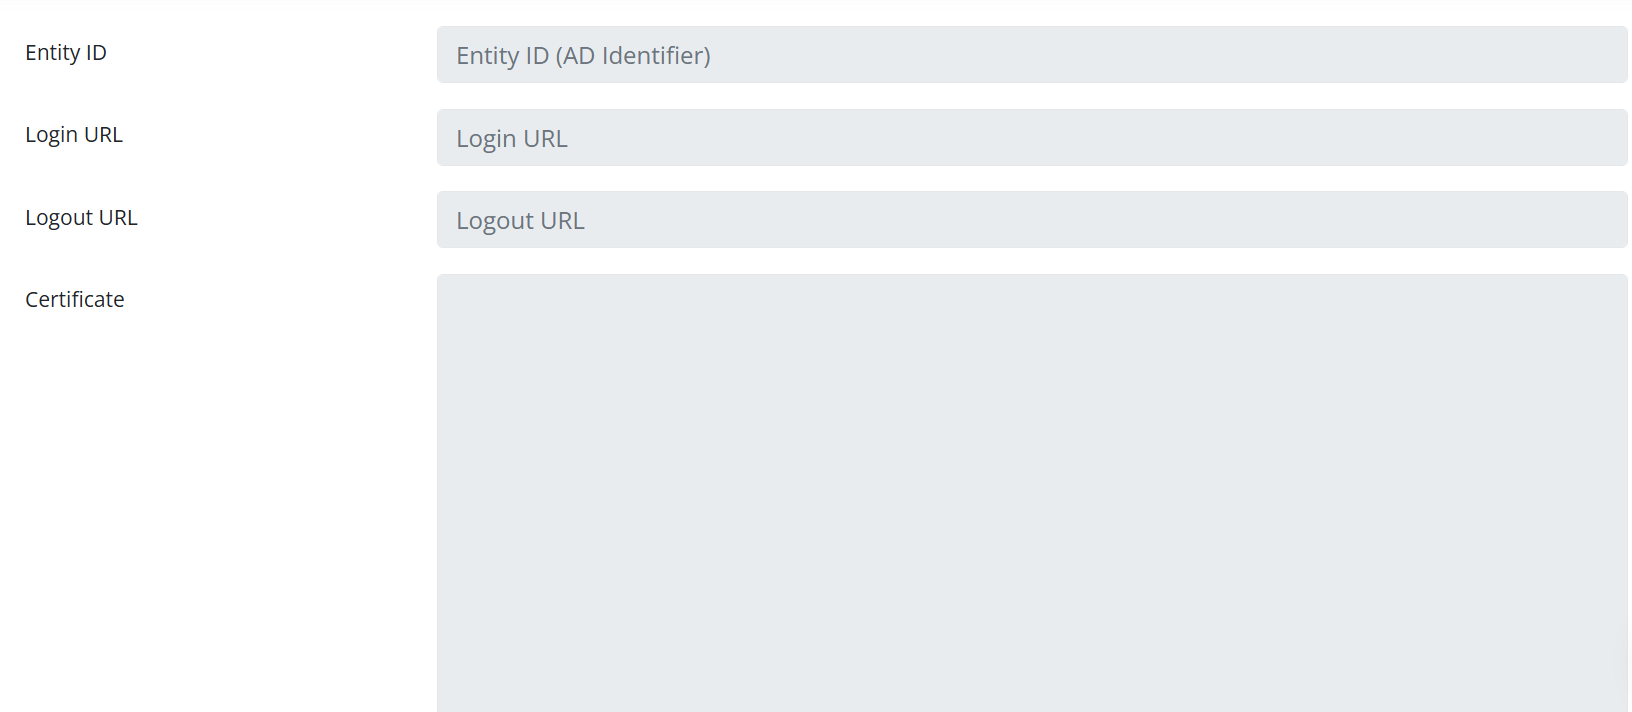
Enter the following details from the Application you just made in Active Directory:
○ Login URL
○ Azure AD Identifier
○ Logout URL
○ Certificate (Base 64 Version - Open it in Notepad and copy the text)
- Click “Save”.
Granting Permission for users to use the SSO application in Azure
To ensure users do not receive the following error message (due to them not having access to the application you have created in Azure).
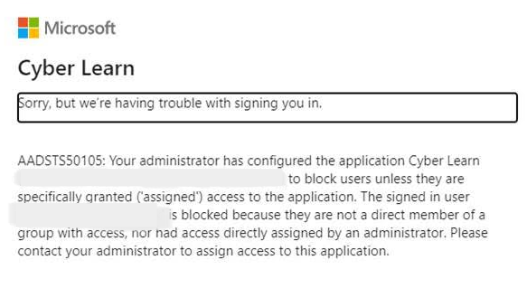
Within the enterprise application on Azure be sure to select "Users and Groups" and make sure all of your staff have access to login including any new starters.

To test that SSO is working, please head over to your portal login page and try signing in.
If this has worked we then recommend importing all of the users silently via the Bob's Business portal so all of your staff are pre-loaded and ready to go.
Google Workspace
-
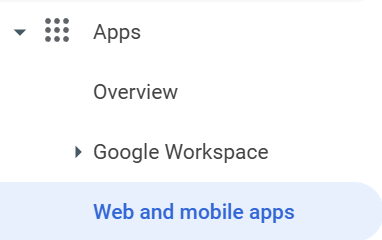
In Google Workspace, go to Apps -> Web and mobile apps
-
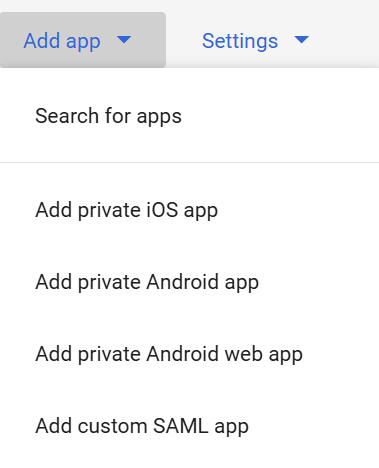
Select ‘Add custom SAML app’
-
Copy all of the following fields:
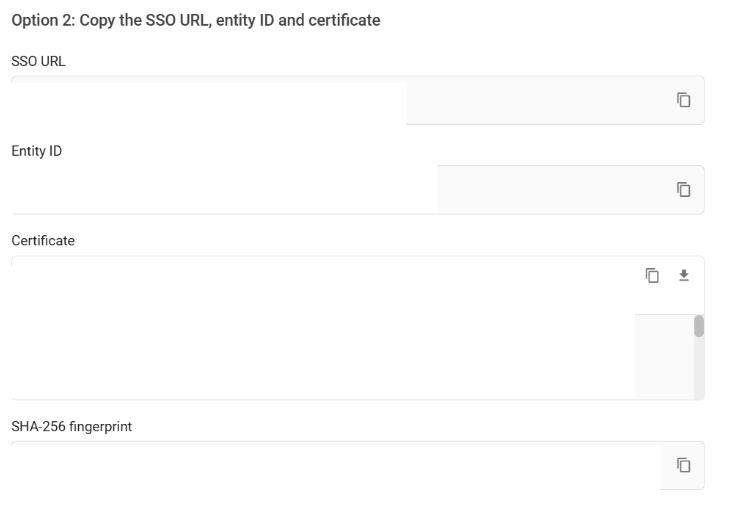
-
In your Bob's Business portal, go to "Organisation" >>"Single Sign On" and turn on Single Sign On.
- Enter the copied SSO URL (Login URL), Entity ID and Certificate into here:
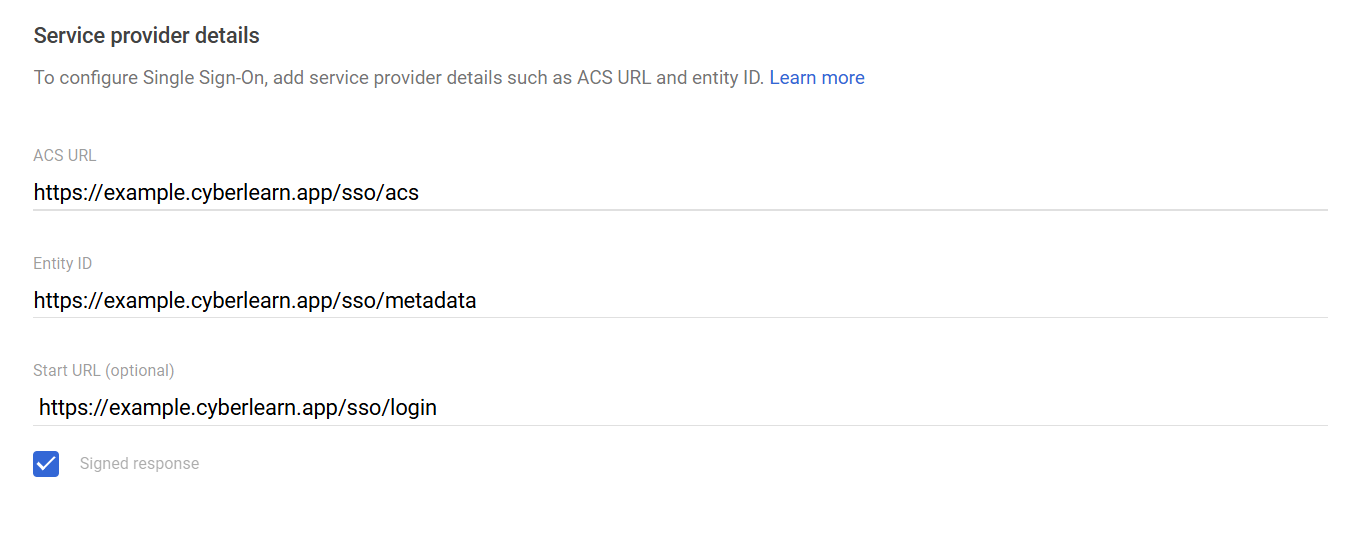
- Take the ACS URL and Entity ID from the bottom of Configuration Settings
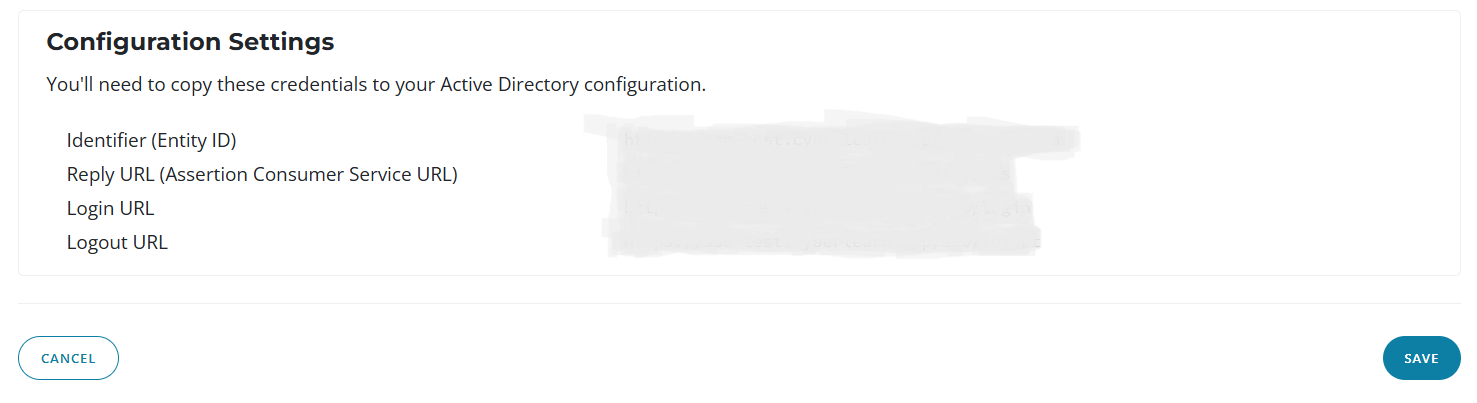
- Paste these into the Service Provider Details in these fields:
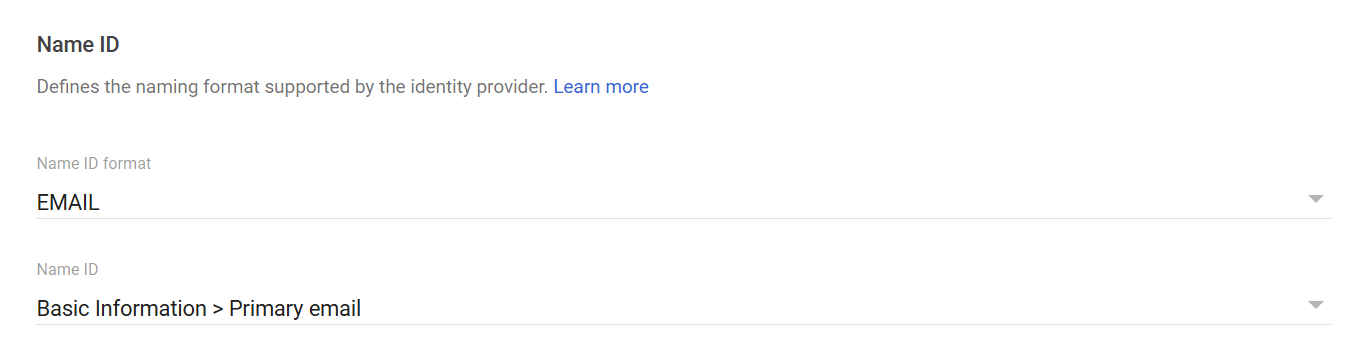
- Set the NameID format as per the screenshot below:
- Finally set the following attributes on this screen:
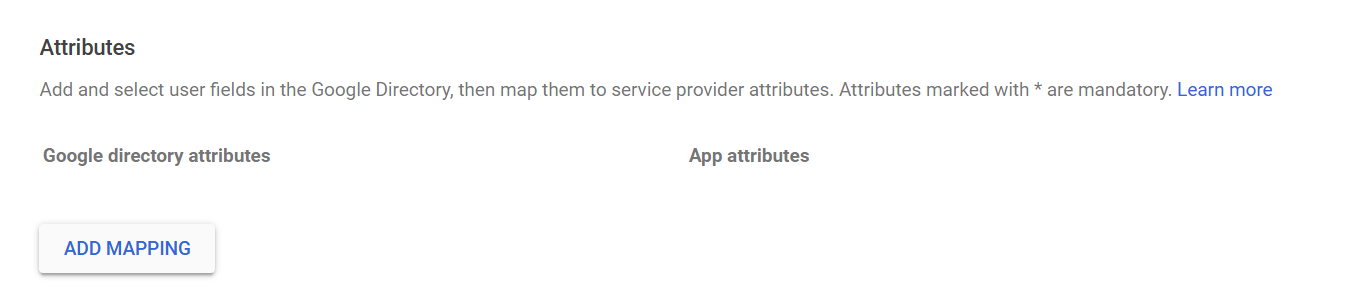
First Name -> http://schemas.microsoft.com/identity/claims/displayname
Primary Email -> http://schemas.xmlsoap.org/ws/2005/05/identity/claims/emailaddress
OKTA
-
In Okta Admin space go to Applications and click Create App Integration
-
In another tab, go the the LMS, and click on Organisation and then Single Sign On

- Copy the URLs from the LMS configuration settings into the SAML settings. The single sign on URL is the Reply URL (ACS) and Entity ID is the Audience URI

- Set the name ID format to “persistent” and the username to “Email”

- Configure the attribute statements as below:
The name must be as follows:

- Confirm the settings and then click “View SAML setup instructions”

-
Copy paste the details on this page into the LMS
-
The sign out URL can be found on the Sign On page in SAML metadata details

If you have any questions or need assistance please email support@bobsbusiness.co.uk and we would be happy to help